Getting Started
Welcome to LatticeZero! This guide walks you through your first project - from uploading a receptor to scoring ligands - in under 10 minutes.
Prerequisites
- A modern browser with WebGPU support (Chrome 113+, Edge 113+, Firefox Nightly)
- A receptor PDB file (or use one of our built-in demo targets)
- Ligand files in SDF or MOL2 format
Note: LatticeZero runs entirely in your browser using WebGPU. No software installation, no cloud compute costs.
Step 1: Create an Account
- Navigate to app.latticezero.com
- Click Sign Up and fill in your details
- Verify your email address
- Log in to reach your Dashboard
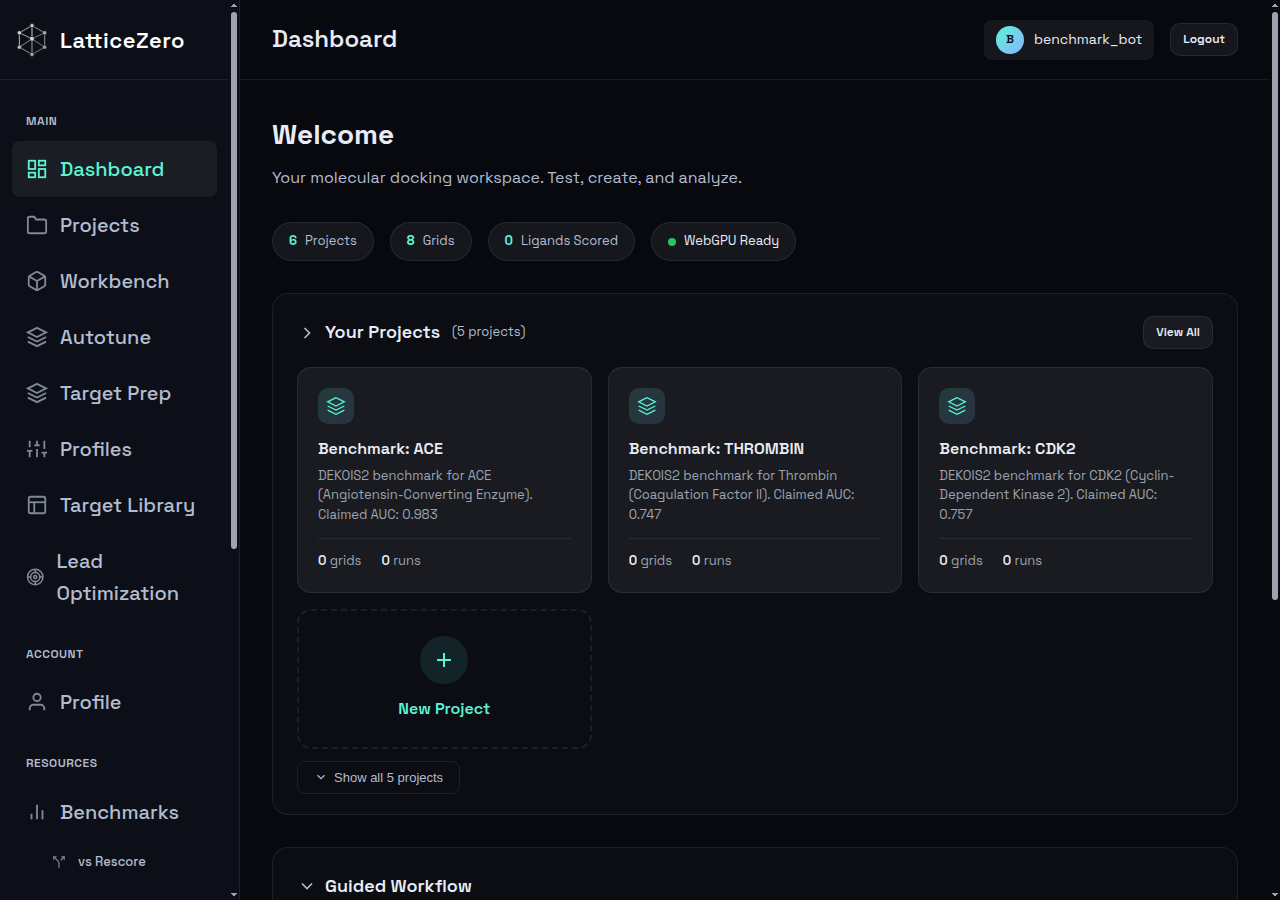 Your dashboard after login
Step 2: Create a Project
Projects organize your targets and scoring runs.
- Click Projects in the sidebar
- Click + New Project
- Give it a name (e.g., "My First Docking Study")
- Optionally add a description
- Click Create
Step 3: Prepare Your Target
Before scoring ligands, you need a prepared receptor with a defined binding pocket.
Option A: Use a Demo Target
The fastest way to get started - no upload needed:
- Go to Try Demo in the sidebar
- Browse the 18 pre-prepared DEKOIS2 targets (ACE, EGFR, CDK2, FXa, etc.)
- Click Run Standard Demo to see real-time scoring with validated AUC metrics
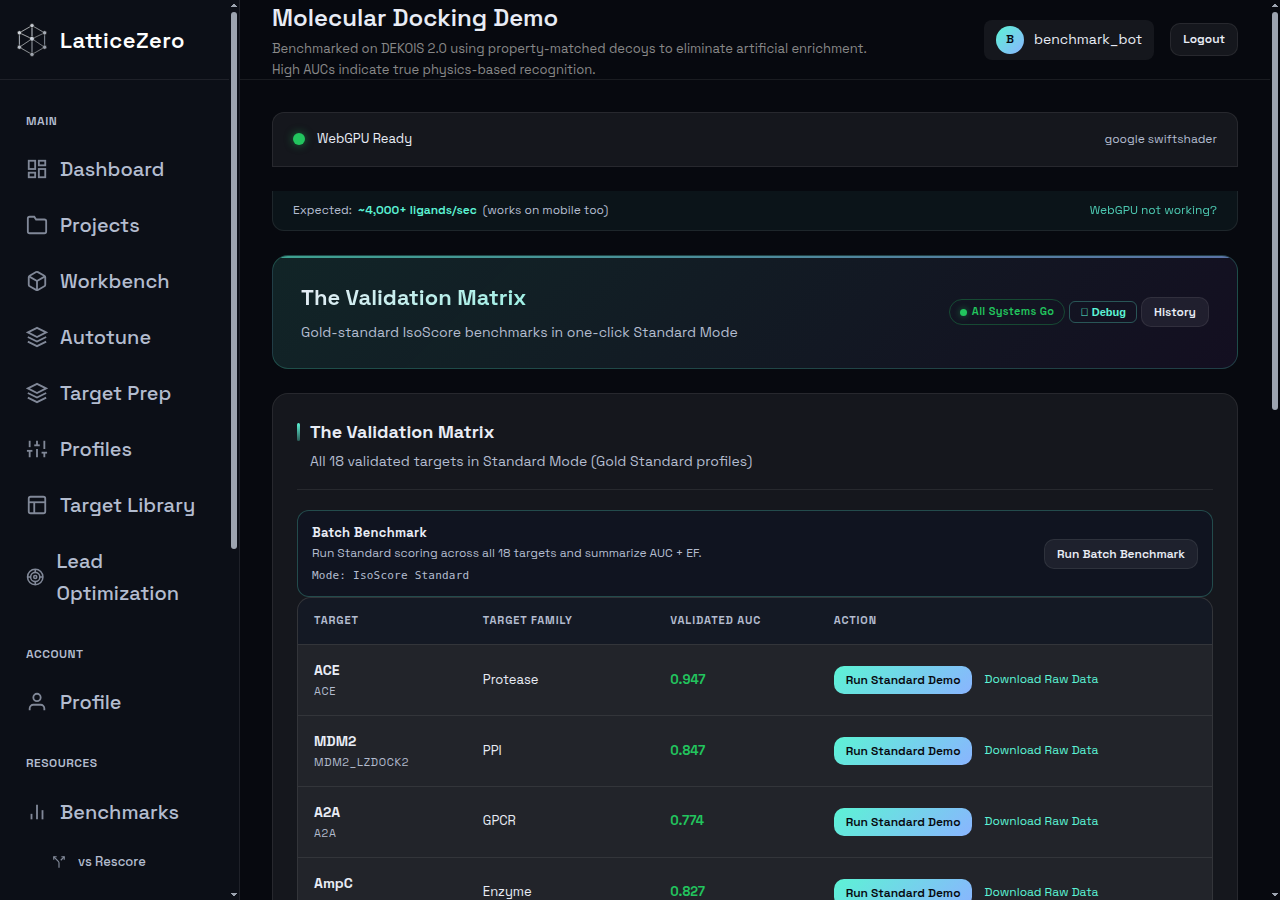 The demo page with 18 validated benchmark targets
Option B: Use a LZ Pack
Pre-validated target bundles with known performance:
- Go to LZ Packs in the sidebar
- Choose from 4 curated bundles (ACE Platinum, MDM2 Gold, CDK2 Silver, HSP90 Silver)
- Each pack includes the prepared target, scoring profile, and validation data
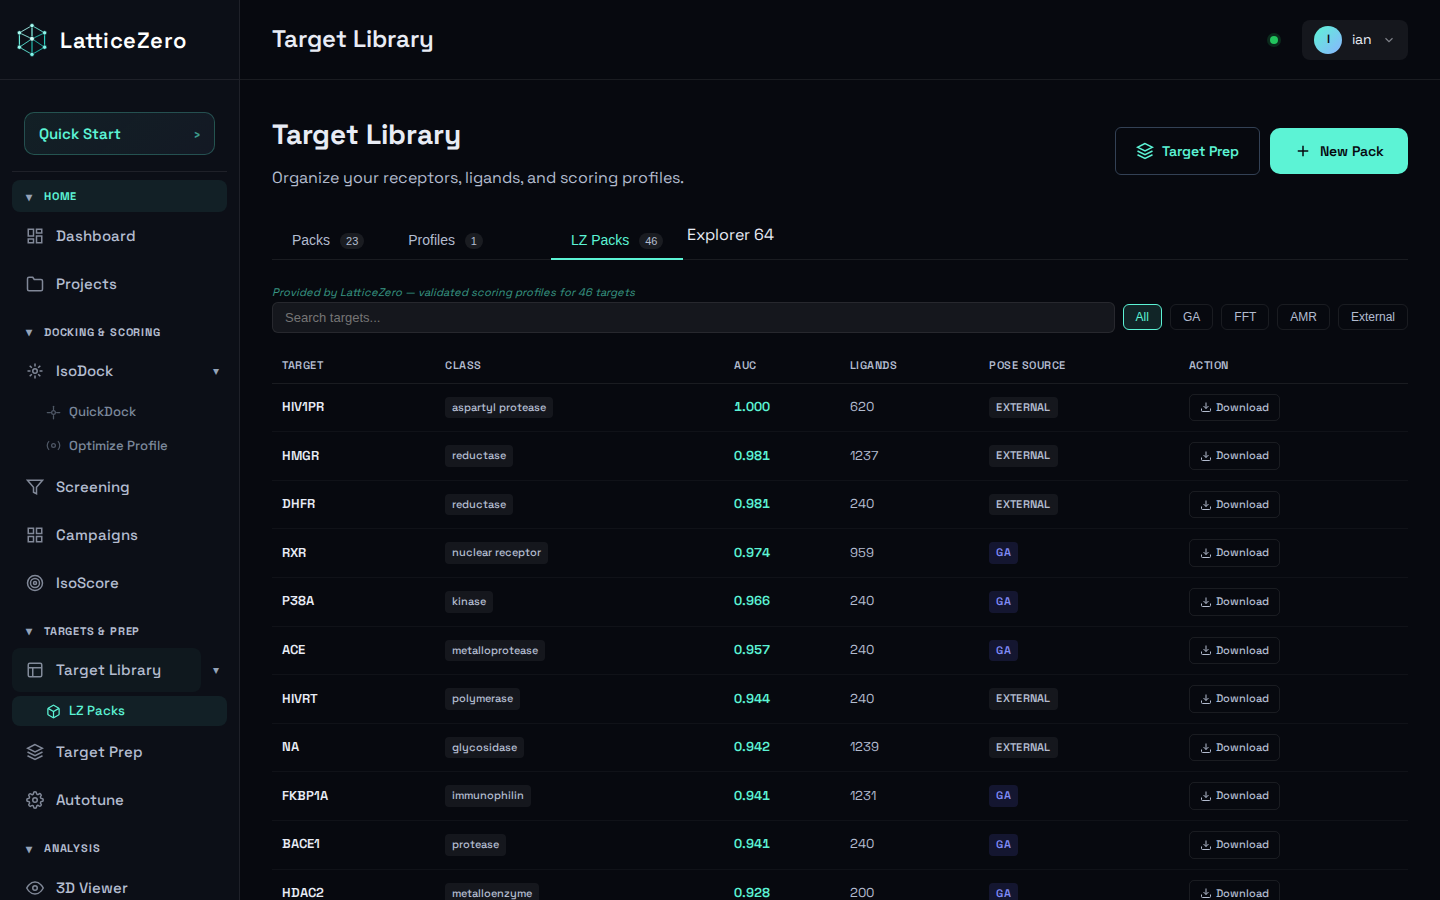 LZ Packs with pre-validated target bundles
Option C: Upload Your Own PDB
- In your project, click Target Prep
- Upload your PDB file (or enter a PDB ID to fetch from RCSB)
- Follow the 4-step preparation pipeline:
- Step 1: Pocket Detection - define the binding site
- Step 2: Grid Compilation - compute the scoring grid
- Step 3: Validation - verify grid quality
- Step 4: Review - confirm and save
See the Target Prep guide for detailed instructions on each step.
Step 4: Score Ligands
With a prepared target, you're ready to score:
Using IsoScore (Rescoring)
Best for: Large libraries, pre-docked poses, rapid screening.
- Go to Workbench in the sidebar
- Select your target and upload your SDF file with pre-docked poses
- Click Run - results appear in real-time at ~4,000 ligands/sec
Using IsoPose (Docking)
Best for: De novo pose prediction, smaller sets, when you need 3D poses.
- Go to Workbench in the sidebar
- Select your target and upload your ligand SDF/MOL2 file
- Click Dock - each ligand takes ~3 seconds
See IsoPose and IsoScore guides for detailed usage.
 The workbench where you run docking and scoring jobs
Step 5: Analyze Results
After scoring completes:
- Sort by score - lower (more negative) scores indicate stronger predicted binding
- View 3D poses - click any ligand to see its docked pose in the 3D viewer
- Inspect score decomposition - see how each physics term contributes to the total score
- Quality filtering - TRASH poses (outside pocket or heavily clashing) are automatically hidden
- Export results - download SDF with full provenance metadata for reproducibility
 Scoring results with sortable columns and quality verdicts
Pro Tip: Enable KeyGuide - After scoring, enable KeyGuide to visually verify your top hits. Green regions show favorable contacts. Red regions show clashes or strain that may indicate false positives. This is especially valuable for prioritizing compounds before synthesis.
Step 6: Choose a Scoring Profile
LatticeZero includes 70+ validated scoring profiles optimized for different target classes:
- Go to Profiles in the sidebar
- Browse profiles by target class (Kinase, Protease, GPCR, Nuclear Receptor, etc.)
- Each profile shows its validated AUC, tier (Platinum/Gold/Silver), and recommended use case
- Select a profile when setting up your scoring run
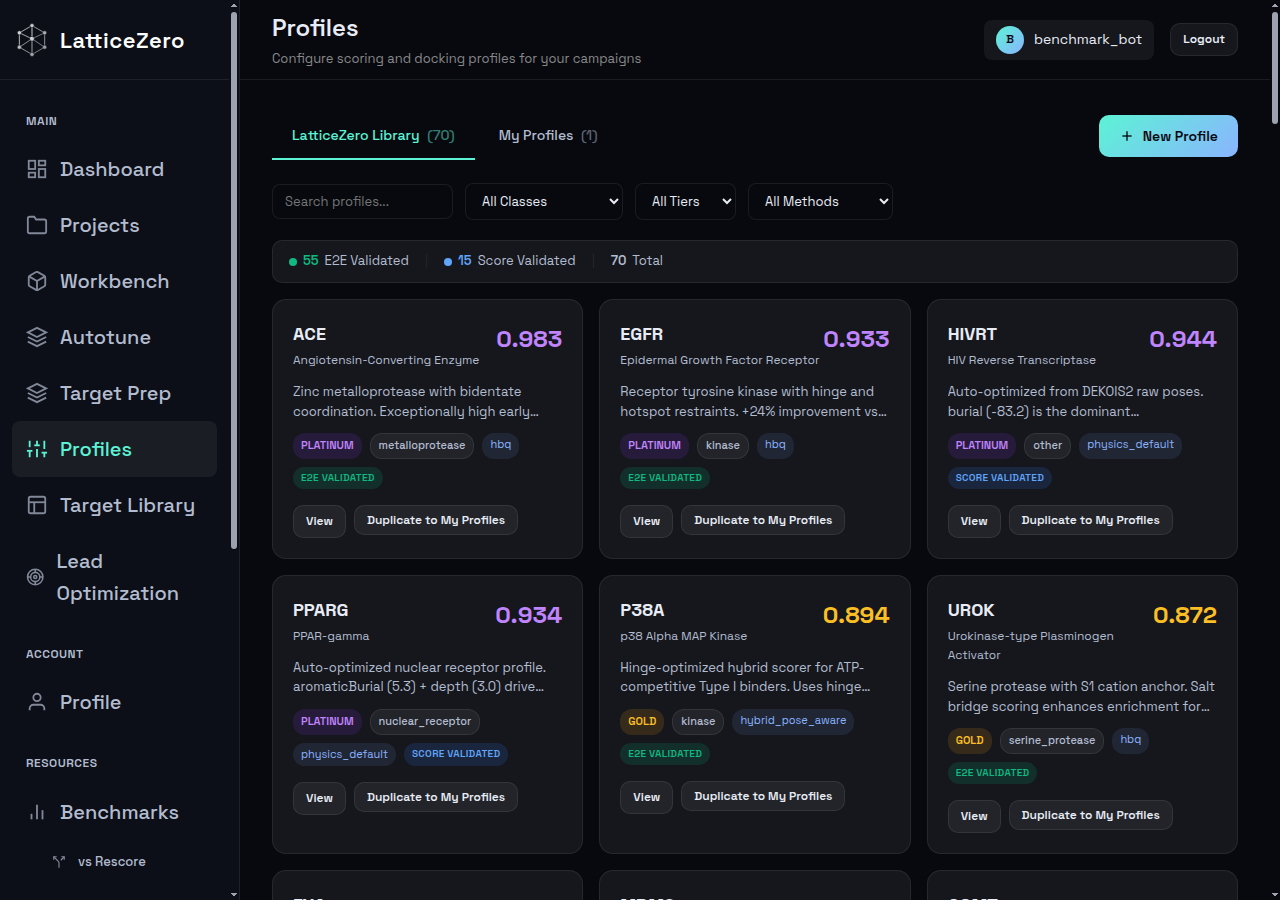 The profile library with 70+ validated scoring profiles
Quick Reference
| Task | Tool | Speed | When to Use |
|---|---|---|---|
| Rescore pre-docked poses | IsoScore | ~4,000 lig/sec | Large libraries, virtual screening |
| Dock from scratch | IsoPose | ~3 sec/lig | Pose prediction, small sets |
| Prepare a receptor | Target Prep | ~2 min | New targets |
| Generate a custom profile | Autotune | ~30 sec | New target classes |
Consensus Scoring (Optional)
Already running Glide, Vina, or GOLD? Use IsoScore as an independent second opinion - no re-docking required:
- Export your docked poses as SDF
- Upload receptor PDB + poses SDF to IsoScore
- Compare LatticeZero rankings vs your original rankings
- Compounds that rank highly in both scoring functions are your highest-confidence hits
This "consensus scoring" approach is the easiest way to integrate LatticeZero into an existing computational chemistry pipeline.
Verify Our Benchmarks
Want to verify our numbers yourself? Every demo target includes a full replication kit:
- Go to the Demo Gallery and pick any target
- Click Download Raw Data to get the replication kit (ZIP)
- Contents: receptor PDB, ligands SDF, activity labels, and execution metadata
- Upload to IsoScore or run via CLI and compare your AUC to our published number
We don't ask you to trust us - we give you the tools to verify.
Next Steps
- Try the Demo - Run validated DEKOIS2 benchmarks to see LatticeZero in action
- Scoring Profiles - Learn how to customize scoring weights for your target class
- LZ Packs - Use pre-validated target bundles with known performance
- Benchmarks - View LP+ benchmark results and methodology
- FAQ - Common questions and troubleshooting tips